
|
|
|
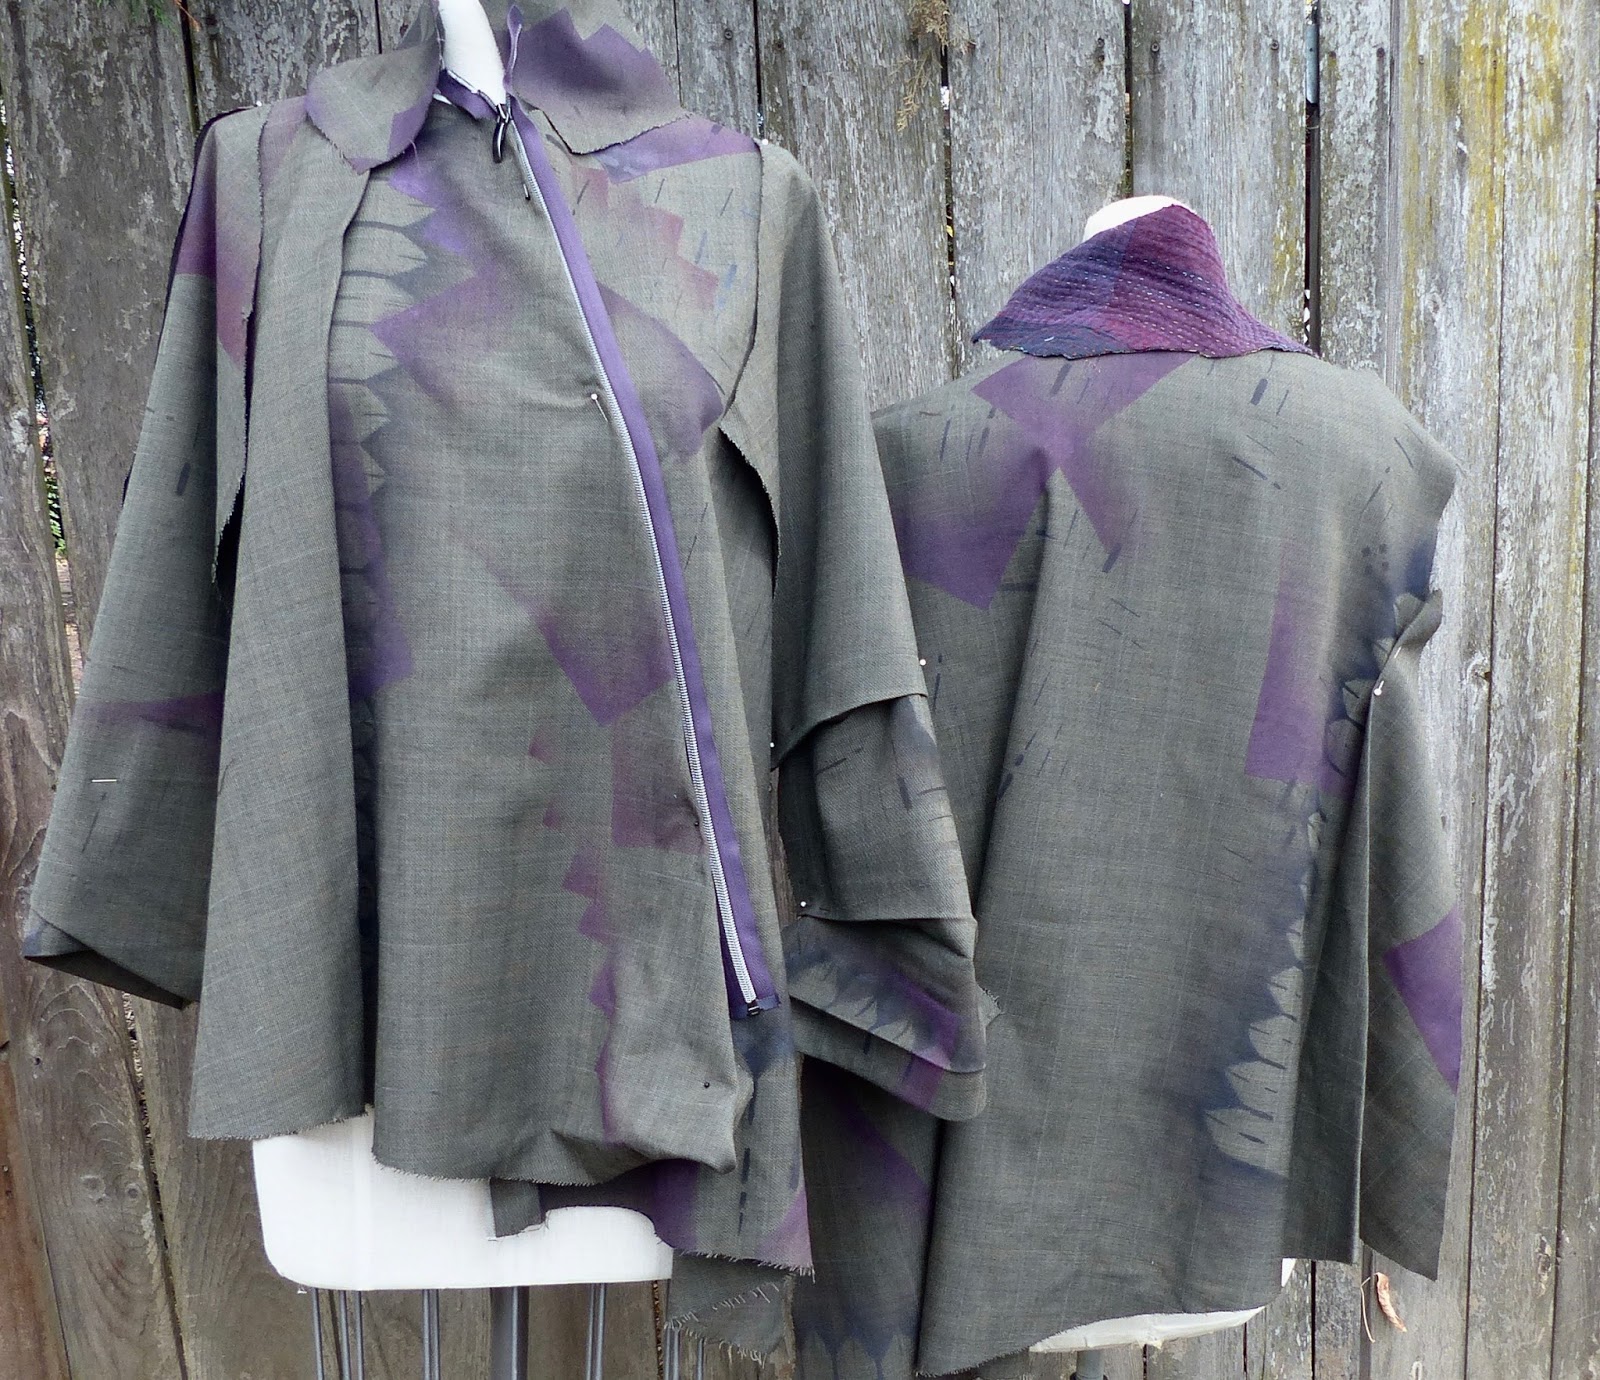
These stenciled suiting pieces, pinned on dressforms, show what the finished shirt will look like- |
November in my Studio-
Inspired by another incredible Design Outside the Lines Retreat here in Ashland with Canadian guest teacher Kathryn Brenne, I'm enjoying some new design play in the studio this month. I am exploring a new color combination with surface design on this striped suiting. There are a variety of ways to change up the design process...and one of them is to cut out a garment then print each piece as in the photo below. This is a easy way to see how the printing relates from one piece to another.

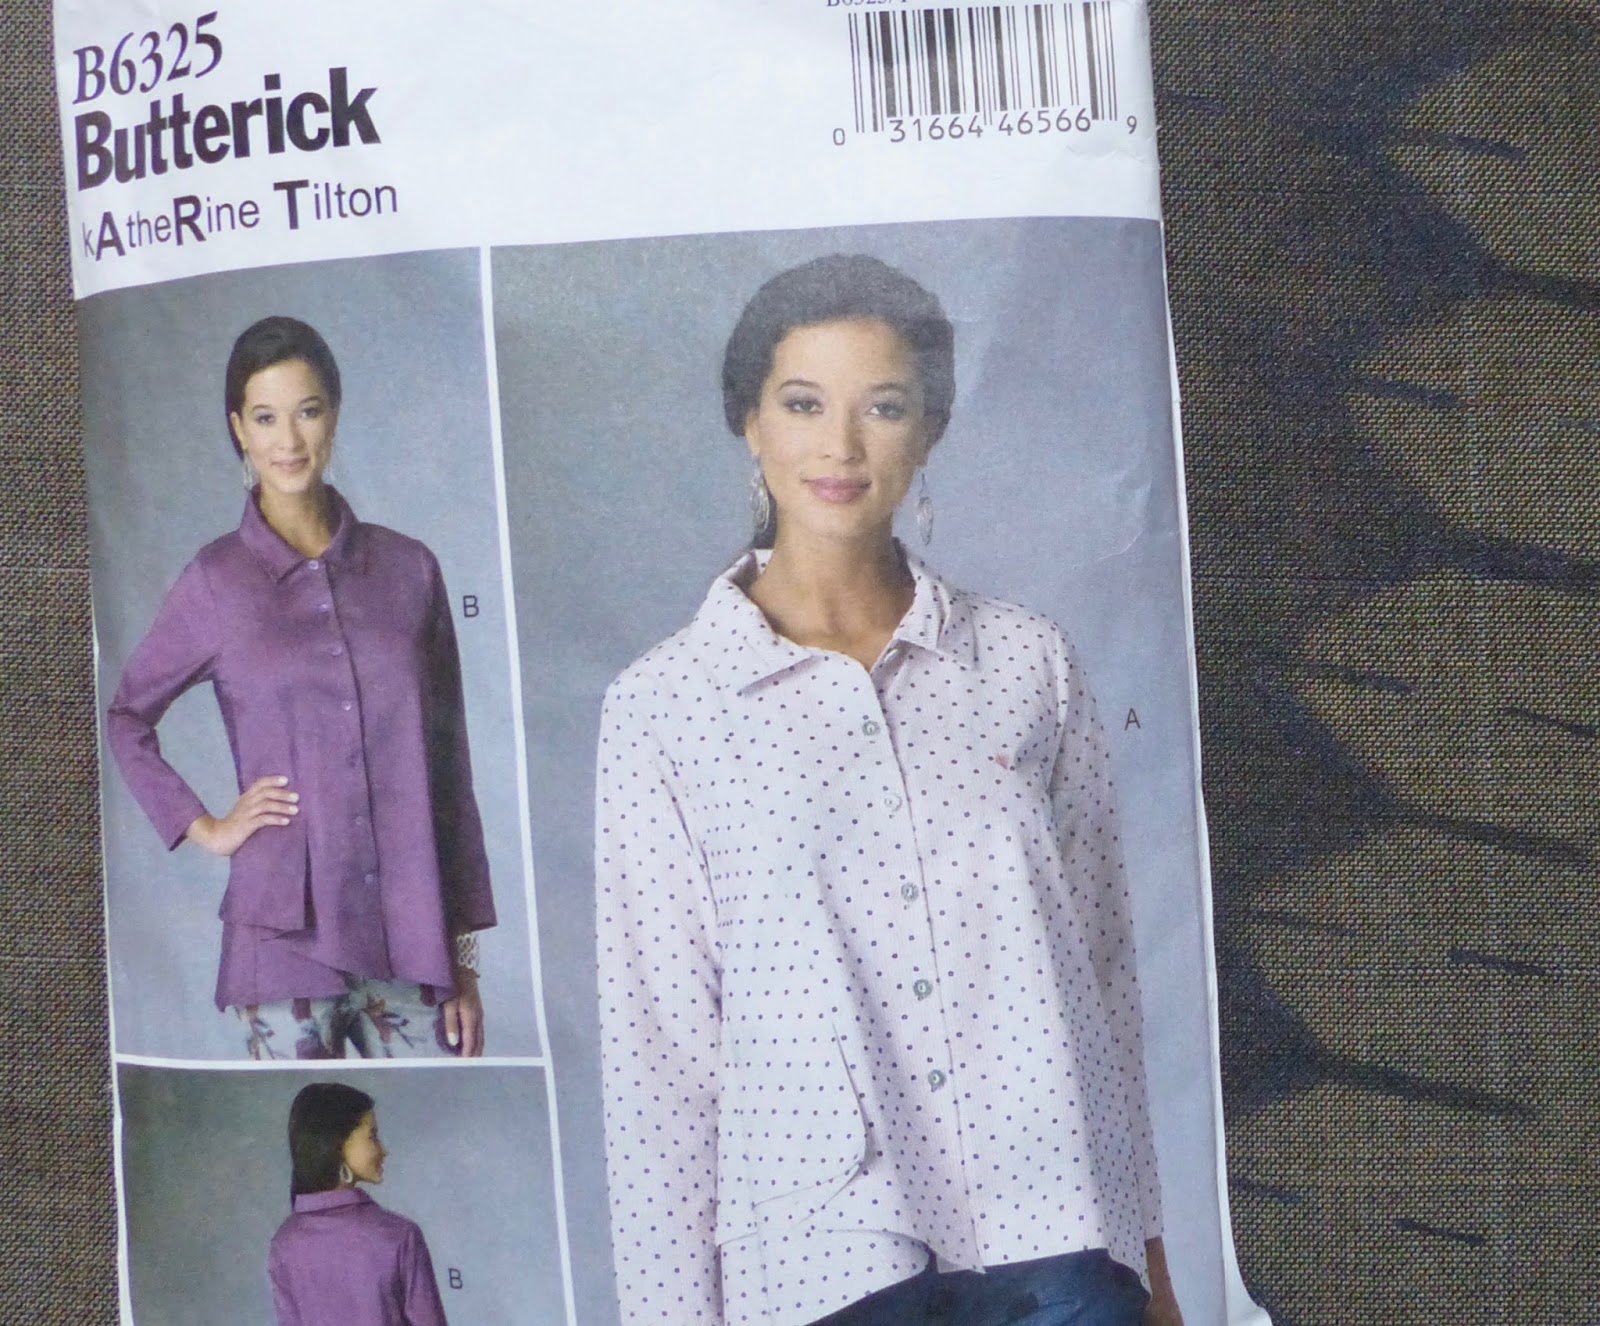
The Pattern=Butterick 6325, a Katherine Tilton Shirt pattern. Katherine has some delicious designs and fabric combinations with this pattern in her current blog you'll want to see! Love this pattern, and know it will be a good basic shape combined with my suiting fabric.
In the beginning of creating something new...everything is possible. Editing is a way our design eye matures. Lots of things can work. Choose what speaks to you...what feels right....what you love.
|
|
|
The small piece of stitched, plum color Kantha cloth in this photos influenced the accent paint color mixed to print with. |
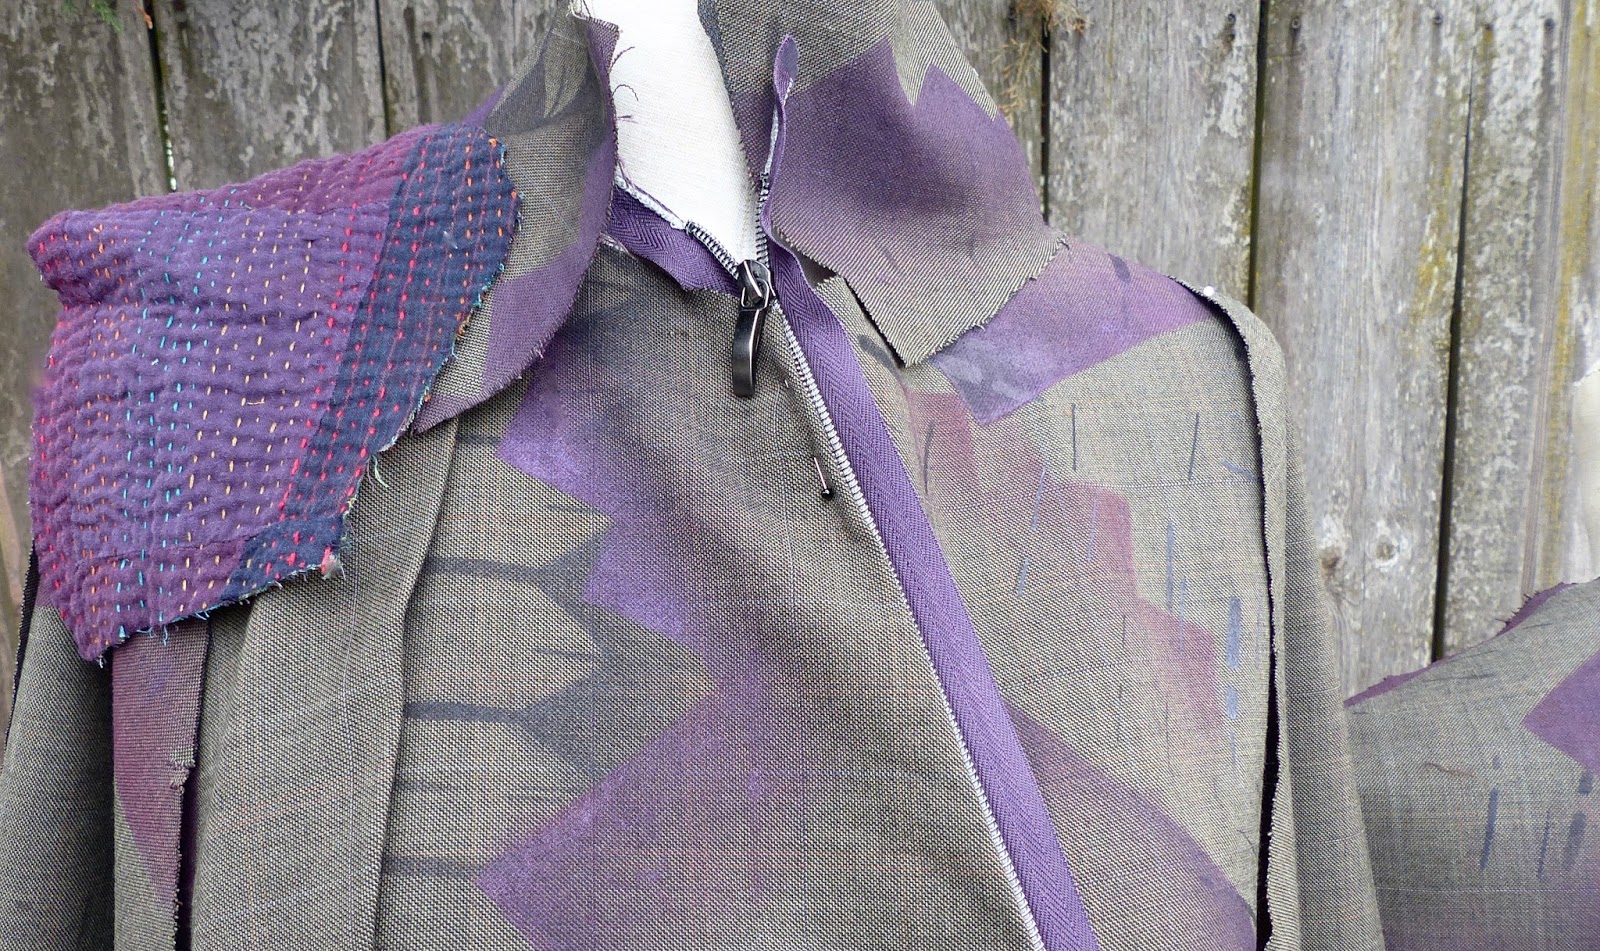
Pattern design changes for this Garment: 1. Changing buttons for a zipper 2. The center front closing was angled to a diagonal, off-center line. 3. Refolding the hem angles in the front. 4. Refolding to reshape sleeve ends 5. Used the collar piece upside down and on the bias, attaching other edge to the neck edge. 6. Adding plum color fabric facing pieces to hem edges.
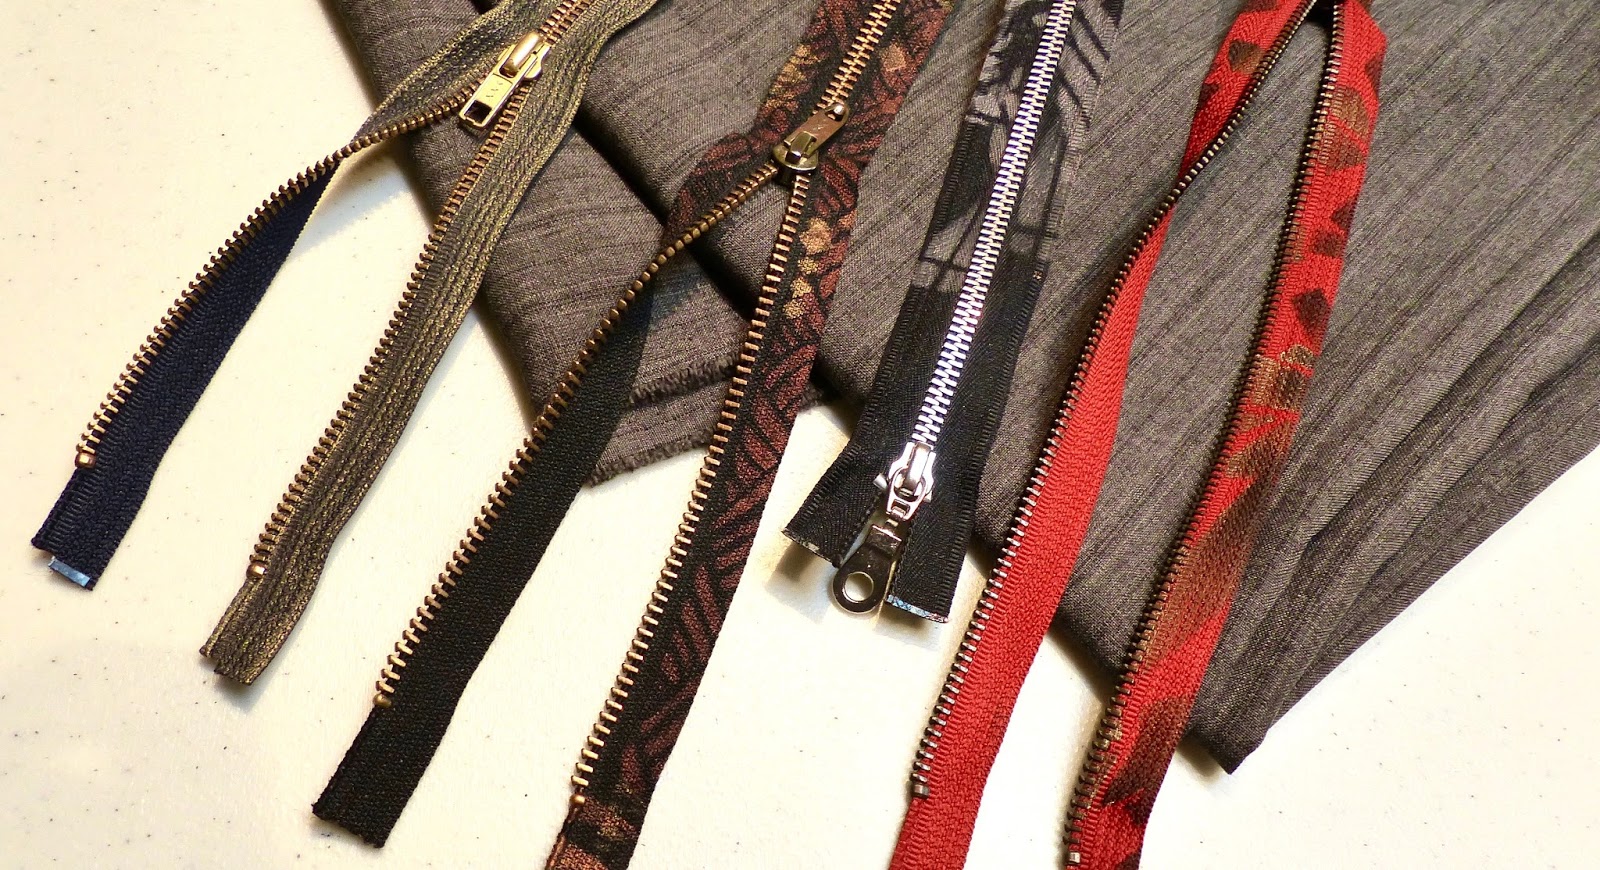
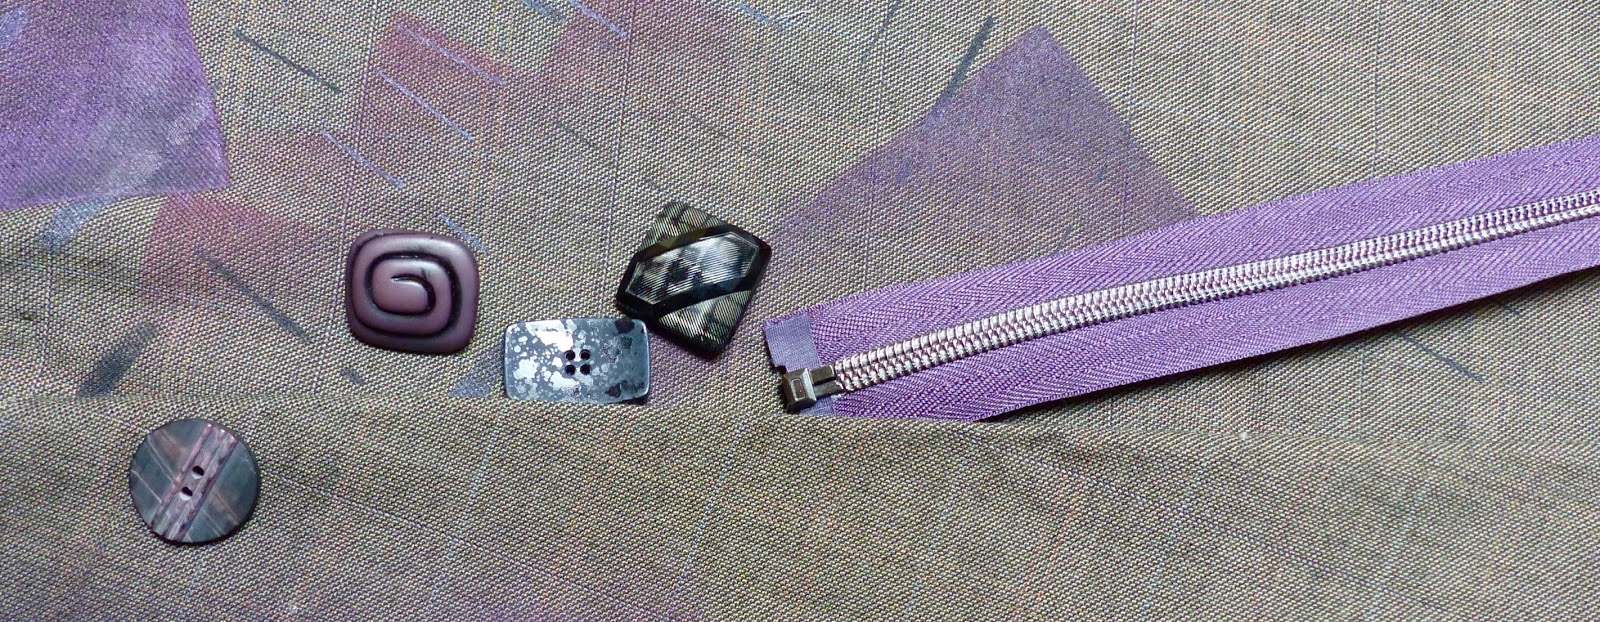
Design Accent Zippers- Nothing is safe from a passionate stenciler!!! The Lumiere Fabric Paints by Jacquard, are beautiful metallics which were used to stencil these zippers for future projects. Stencils were used on the 3 zippers on the right. The zipper on the left (originally a dark blue) was simply rubbed with a light amount of paint to bring out the texture of the tape with a lighter metallic color. My plum-color zipper highlights the new diagonal line of the shirt front.
Printing Notes- The garment pattern was cut out and each piece printed with metallic Pewter paint using my Picket Fence Stencil. Printing with parts of the stencil gives different designs like the collections of lines that look like a weave texture. The plum color angles and sawtooth edges were printed with edges cut out of file folders. Once you get into printing, you'll want to cut a collection of basic shapes to use with other stencils- they will expand your printing options.
|
|
|
The fabric for each sleeve was folded in a different way before the sleeves were cut out- |

Folding Fabric- I love the folded shapes on the front and back of the original shirt design. I took that same concept to changing the sleeves by folding and pleating each one differently BEFORE I cut out the sleeves. To start this process, you want to cut a piece of fabric 2-5" longer than your sleeve pattern and 2-3" wider. To add pleats, mostly to the length, determines the need for more length before folding and cut out the final sleeve. Pin the folds in place, then use the pattern piece to cut out.
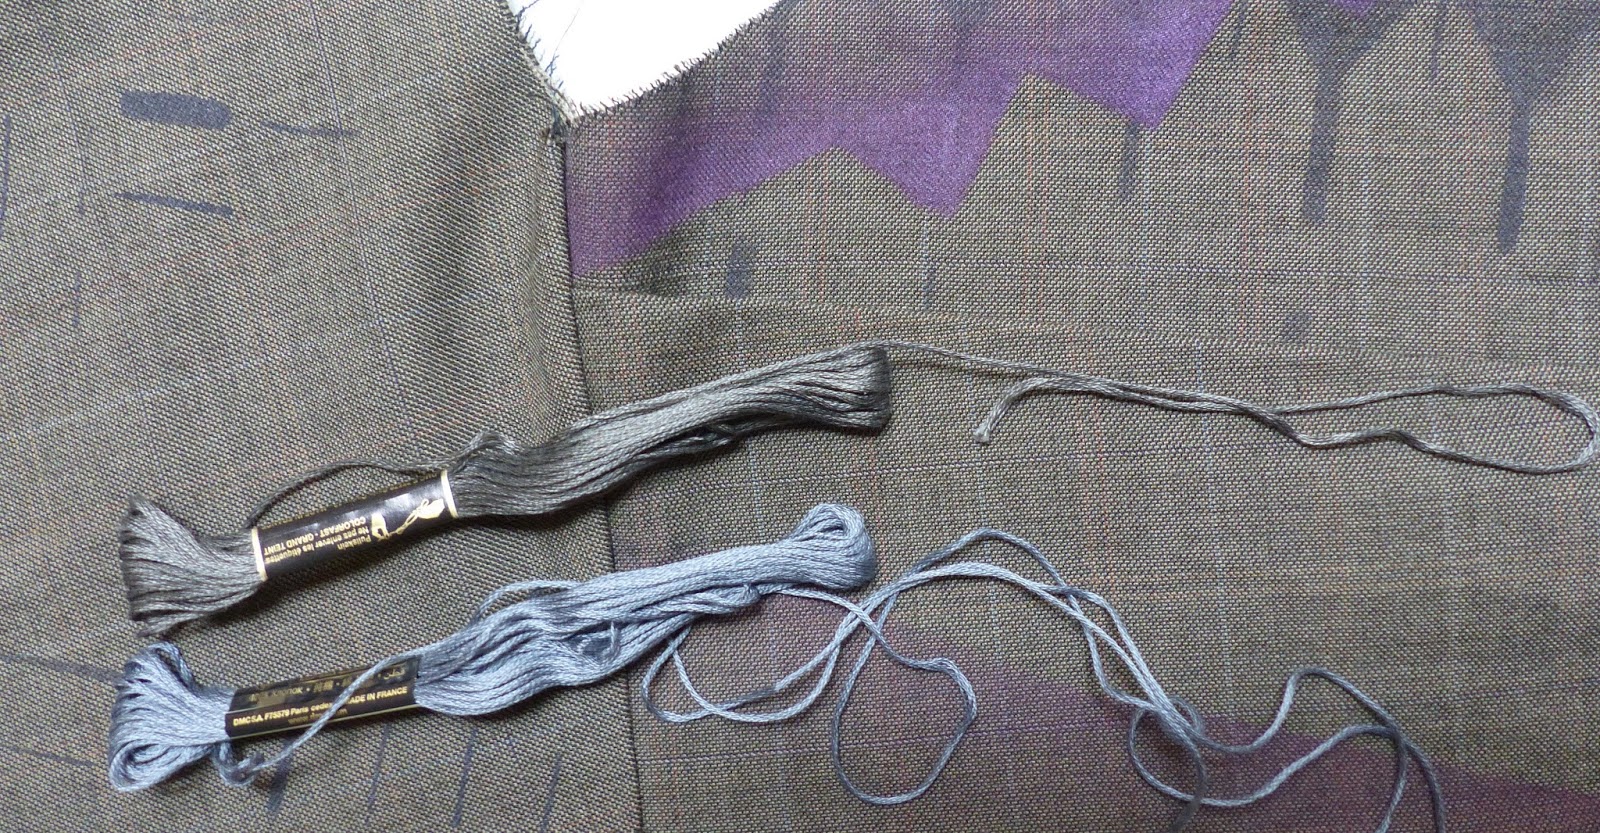
Adding the Magic 3rd Element- 3 is a magic number.....and adding a 3rd element can strengthen your design. So whether it is another color, hand-stitching, piping or an accent fabric- go for it.
On this garment...I can feel some hand-stitching might just be the thing to give it the finish.
Back to work....I'm looking forward to sharing the finished shirt next month!
Enjoy your winter creative time, Diane